making tissue auto-staining accessible to all
Peace of mind of having reproducible results – with simple or complex protocols
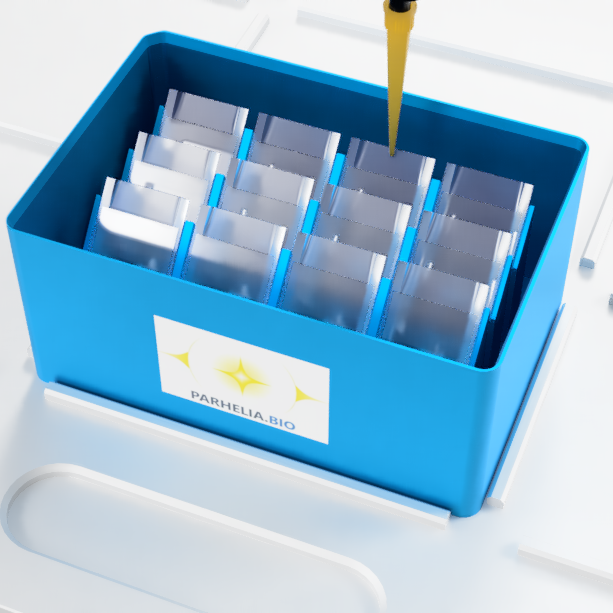
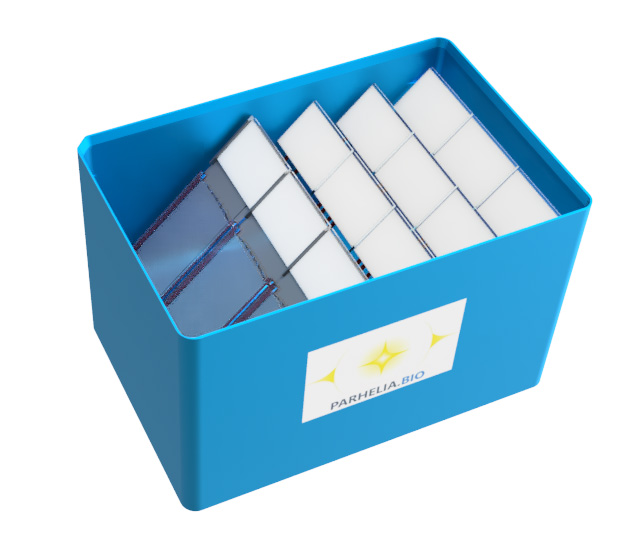
Omni-Stainer™ C12
for coverslips
- Compact: footprint of a 96-well plate
- Stains up to 12 coverslip-mounted samples at a time
- Saves reagents: 50% less reagents compared to open-top staining
- Never lose or break a sample
- Built-in wet chamber
- Use it by hand or insert into any SBS-compatible liquid handler to automate your tissue staining

How it works
for coverslips

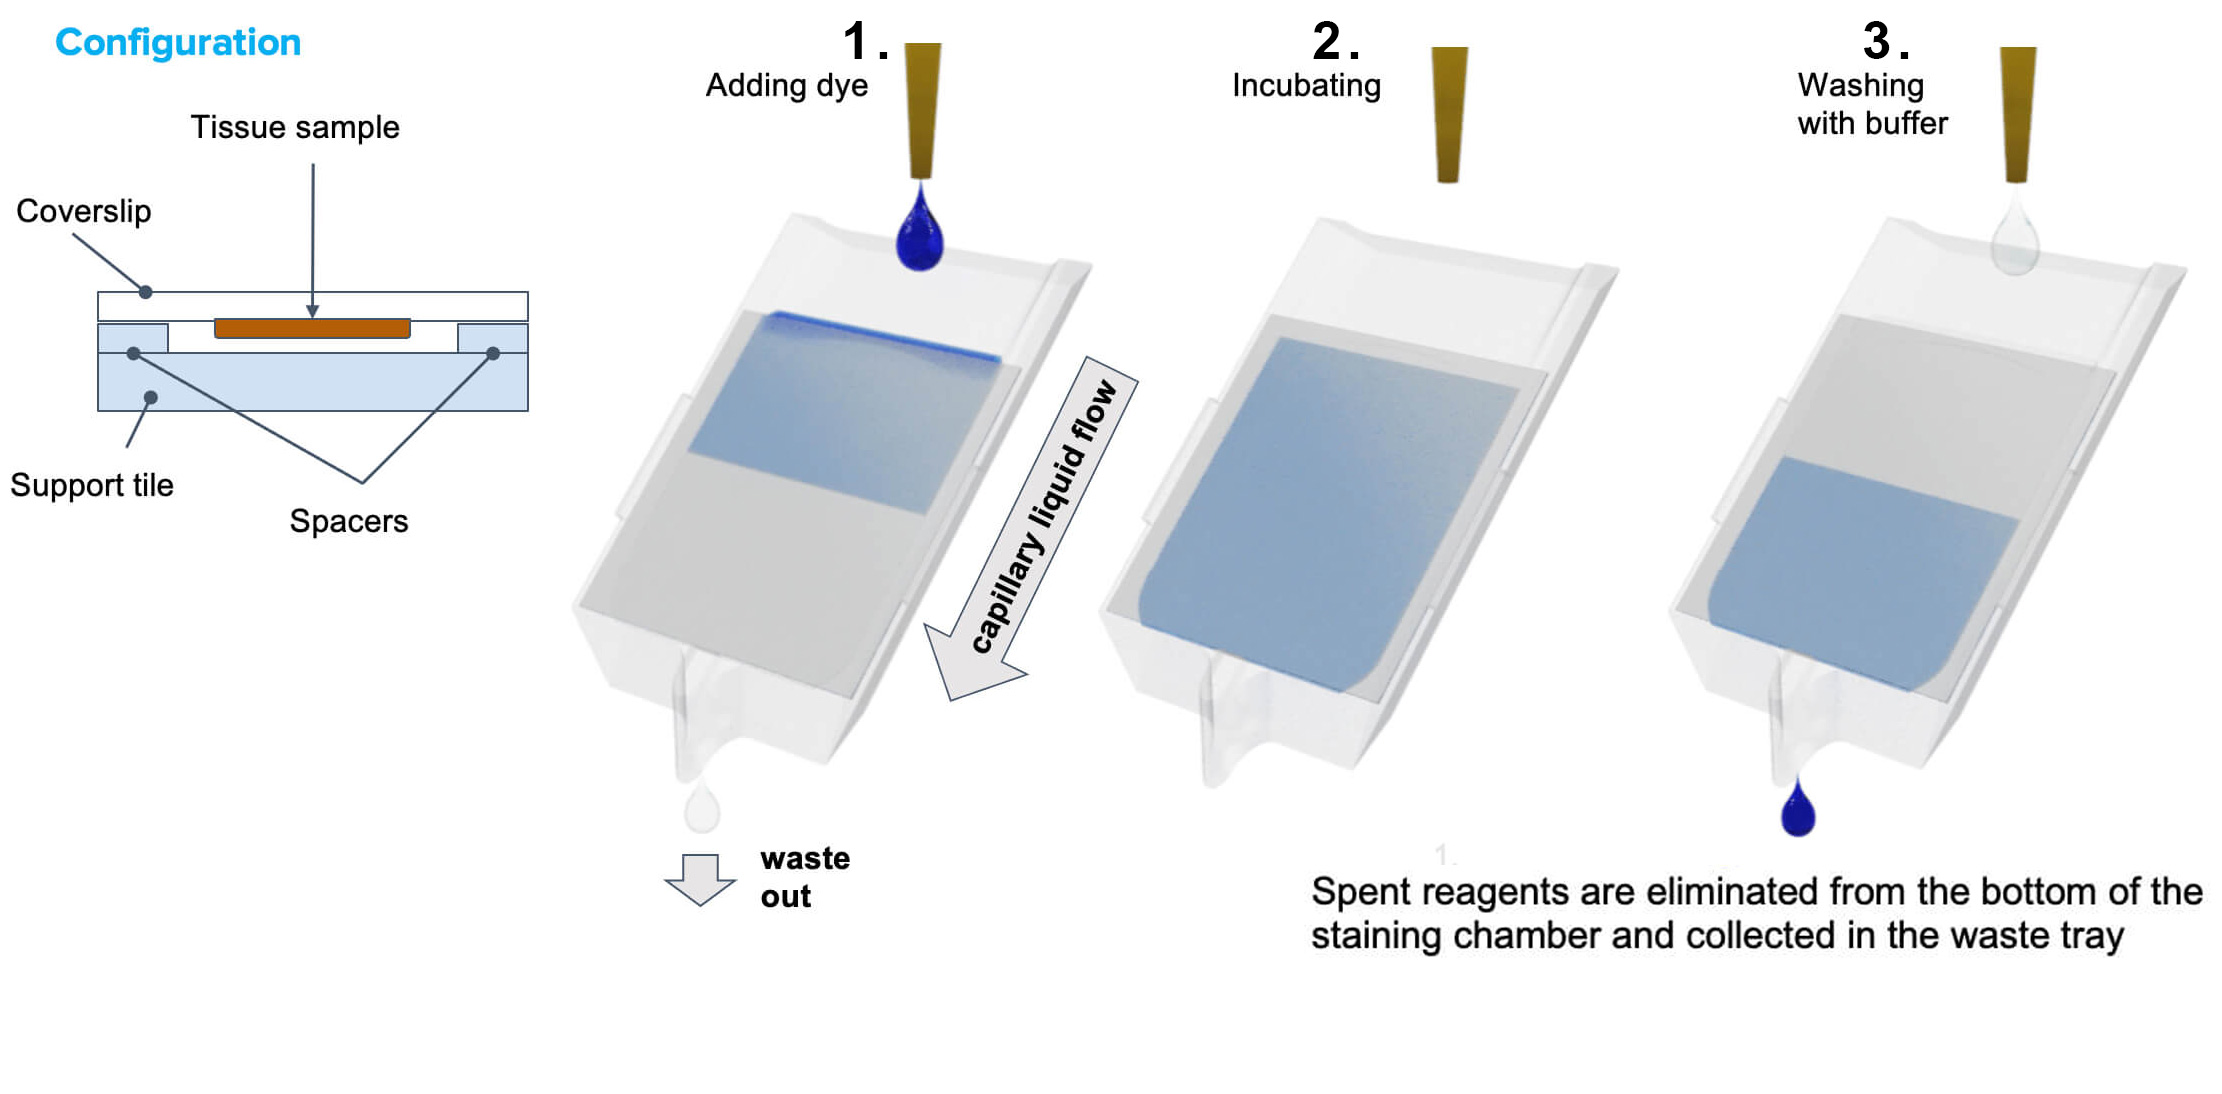
- Coverslip with sample rests on 50um thin spacers, forming a capillary chamber. Staining reagents are supplied by a liquid handler (or by hand!)
- Sample is incubated in a thin capillary layer
- When the sample is washed, the old one is instantly displaced by the laminar flow

Omni-Stainer™ S12
for slides
- Compact: footprint of a 96-well plate
- Stains up to 12 coverslip-mounted samples at a time
- Saves reagents: 50% less reagents compared to open-top staining
- Never lose or break a sample
- Built-in wet chamber
- Use it by hand or insert into any SBS-compatible liquid handler to automate your tissue staining
How it works
for slides

- The same capillary displacement principle, but the sample is mounted on a slide and covered with a coverpad that incorporates capillary spacers
Schedule a Meeting
Schedule a meeting with us and gain instant access to our virtual demo
Placing slides into Omni-Stainer™
Slide assembly
This video shows how to assemble the slide/coverpad sandwich and place it into the slide Omni-StainerTM. First the tacky spacers are exposed by removing the protective tape from the cover pad. To avoid airbubbles between the slide and the coverpad the slide is first placed in the small tray with compatible buffer (water or PBS) and in such submerged stage is covered with a coverpad. The spacers are tacky enough to hold the coverpad in place (after slightly pressed against the slide) but yet when wet allow repositioning the coverpad over the slide. After the sandwich is assembled the combo is placed on the shelf and then into the Omni-StainerTM
Coverslip Assembly
This video shows how to assemble the coverslip/support pad sandwich and place it into the coverslip Omni-StainerTM system. To avoid airbubbles between the slide and the support pad, a drop of compatible buffer (water or PBS) is first placed onto the support pad. The coverslip with a sample is then placed face down on the pad to avoid bubble formation and ensure that the liquid fully fills the flow cell formed by sandwiching the support pad and the coverslip. After the sandwich is assembled the combo is placed into the coverslip version of the Omni-StainerTM system.
Manual staining
Using Omni-Stainer™ platform by hand
Omni-Stainer™ S12 platform Demo Video
Omni-Stainer™ C12 platform Demo Video
The Omni-StainerTM platform can be used as a device for manual staining. In such case the solutions are exchanged by manual pipetting. After the pipetting the Omni-StainerTM system should be closed with a lid. In such configuration it can be placed into the 4C refrigerator or into the heated incubator. Before the start of any staining experiment 20-30ml of water should be placed into the Omni-StainerTM system to create the humid chamber environment which helps to reduce the evaporation of staining solutions from the slide/coverpad or coverslip/support pad sandwich.”
Automated Staining Demo
using Opentrons OT-2
Omni-Stainer™ S12 platform automation demo
Omni-Stainer™ C12 platform Demo Video
For automated liquid exchange the Omni-Stainer™ system has to be place into programmable liquid handler (e.g. Opentrons). The design of the lid including the prewetted perforated filter paper on the lid ensures minimizing the evaporation of staining reagents from the slide/coverpad or coverslip/support pad sandwich.
Liquid handling
OT-2
Staining automation can be attained by inserting the Omni-Stainer™ into an SBS-compatible liquid handler, and how we are partnering with Opentrons and adopting their versatile ultra-low-cost liquid robot OT-2 to deliver complete staining automation solutions.
As a part of our ‘automation package’, we provide pre-written protocols for various assays, including H&E, IHC, IF, CycIF, CODEX, FFPE antigen retrieval, CAS-FISH, IMC, RNAscope. Custom protocol development services are available.
Omni-Stainer™ is compatible with most liquid handling robots but if you don't have one, we recommend Opentrons OT-2
Protocols Supported on OT-2:
- IF
- IHC
- CODEX single and multi-strain
- Cas-FISH
- FFPE Antigen Retrieval (HIER)
- Opal
Coming soon:
- smRNA-FISH
- Rolling Circle Amplification
- Cyclic IF
- IMC & MIBI
- and many more...

Heating and cooling on the robot: FFPE-IHC
Omni-Stainer™ system rests on top of the OT-2 thermal module after:
Human tonsil FFPE antigen retrieval at 95°C
Anti-CD8 Primary antibody staining at 4°C
Secondary antibody staining, DAB and hematoxylin at room temperature


